
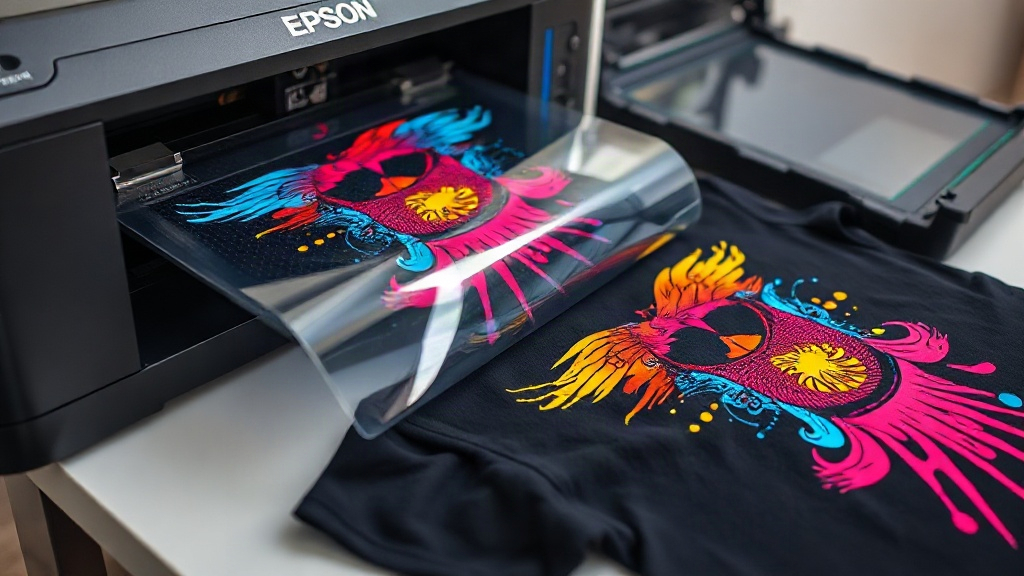
When I first heard about DTF printing, I was skeptical. Could a process that involves printing on film, dusting with powder, and heat pressing really produce results as good as screen printing or DTG? After months of testing and countless mistakes, I can confidently say yes—and it might just be the most versatile garment decoration method available today. In this guide, I'll share what I've learned so you can avoid the pitfalls and get professional results from the start.
What Exactly Is DTF Printing?
DTF stands for Direct to Film. Unlike DTG (Direct to Garment), which prints directly onto the fabric, DTF involves printing your design onto a special PET film using a modified inkjet printer with pigment inks. While the ink is still wet, you sprinkle a thermoplastic powder over it, shake off the excess, and then melt the powder with a heat source. The result is a transfer that can be stored and later applied to garments with a heat press. The magic is that DTF works on almost any fabric—cotton, polyester, blends, even leather—and doesn't require pre-treatment like DTG does.
Why Choose DTF Over Other Methods?
If you're a small business owner or a hobbyist, you've probably compared printing methods. Here's why DTF often comes out on top:
- Versatility: No need for different inks or pre-treatments for different fabrics. One setup handles them all.
- Durability: When applied correctly, DTF transfers withstand dozens of washes without fading or cracking.
- Detail: The process captures fine lines, gradients, and photographic details beautifully—better than most vinyl cutters can achieve.
- Cost-effective for short runs: Unlike screen printing, there are no setup fees or minimums. Print one or one hundred, the cost per piece stays relatively stable.
Essential Supplies for DTF Printing
Before you dive in, gather these items. Skipping any of them will lead to frustration.
1. DTF Printer and Inks
You can convert an Epson printer (like the L1800 or P800) with a DTF ink system, or buy a dedicated DTF printer. Pigment inks are crucial—they're formulated to adhere to the film and later to the fabric. Using regular inks will result in washed-out, failing transfers.
2. PET Film
Not all films are created equal. Look for double-sided matte or glossy DTF film. Matte film tends to hold the powder better, while glossy can give a smoother finish. I prefer matte for beginners because it's more forgiving.
3. Hot Melt Powder
This is the adhesive that makes the transfer stick. There are two main types: TPU (flexible, soft) and TPO (more rigid, cheaper). For apparel, TPU is the way to go. Particle size matters too—fine powder (around 80-200 microns) gives a softer hand feel.
4. Heat Press
A quality heat press with consistent temperature and pressure is non-negotiable. You'll need it for both curing the powder and applying the transfer. A clamshell or swing-away press works; just make sure it can reach 325°F (160°C).
Step-by-Step DTF Printing Process
Here's my tried-and-true workflow. Follow it closely to avoid common mistakes.
Step 1: Prepare Your Artwork
Design your image in your favorite software, then mirror it horizontally. This is critical—if you forget, your text will be backwards. Also, ensure your design has a transparent background. Print it onto the film using your DTF printer. Set your printer to the highest quality setting and use the correct color profile (usually provided by your ink supplier).
Step 2: Apply the Powder
While the ink is still wet, generously sprinkle the hot melt powder over the printed area. Then, tilt the film and gently tap off the excess. You want an even, thin layer—too much powder leads to a stiff, plastic-like feel; too little causes poor adhesion. A powder shaker helps, but a simple spoon works too. Work in a well-ventilated area and wear a mask to avoid inhaling particles.
Step 3: Cure the Powder
Place the film in your heat press or a dedicated curing oven. Set the temperature to around 300-320°F (150-160°C) and press for 2-3 minutes. The powder should melt and become glossy. If it looks dull, it's not fully cured. Don't overdo it, or the film may warp.
Step 4: Press onto Garment
Preheat your garment for a few seconds to remove moisture. Place the transfer face-down on the fabric. Press at 325°F (160°C) for 15-20 seconds with medium pressure. Let it cool completely before peeling—this is called "cold peel." Peeling hot can cause the design to stretch or tear.
Common DTF Problems and How to Fix Them
Even with experience, issues pop up. Here are solutions to the most frequent headaches.
- Transfer peels off after washing: Usually due to under-curing the powder or insufficient pressure during application. Increase curing time or pressure.
- Cracking: Often caused by too much powder or stretching the transfer while peeling. Use less powder and ensure cold peel.
- Faded colors: Check your ink levels and print head. Also, make sure you're using the correct ICC profile.
- Film jams: PET film can curl. Store it flat and feed it manually if needed.
Pro Tips for Better DTF Results
After many trials, I've picked up a few tricks that make a big difference.
- Test, test, test: Every fabric behaves differently. Keep a log of settings that work for each type.
- Use a lint roller: Before pressing, run a lint roller over the garment to remove fibers that could interfere with adhesion.
- Storage: Keep unused transfers in a cool, dry place. Humidity can ruin the powder.
- Layer with care: If you're doing multiple colors, print them in one pass rather than layering transfers.
Frequently Asked Questions About DTF Printing
Can I use DTF on dark shirts?
Absolutely. Unlike DTG, DTF doesn't require a white base layer. The white ink in the printer creates the base, so your design pops on both light and dark fabrics.
How long do DTF transfers last?
With proper application and care, expect 50+ washes. Turn the garment inside out and wash in cold water to maximize longevity.
Do I need a special printer for DTF?
You can convert a standard Epson printer with a DTF ink kit, but dedicated DTF printers are easier to maintain and produce more consistent results. If you're serious, invest in a dedicated machine.
What's the difference between DTF and DTG?
DTF uses a transfer film and powder, while DTG prints directly onto the garment. DTF works on more fabric types and often has better durability, but DTG can be faster for large orders on cotton.
Mastering DTF printing takes practice, but the freedom it gives you is worth it. Imagine printing a full-color photo onto a polyester jacket or a cotton tote without any special coatings. That's the power of DTF. Start with small tests, keep notes, and soon you'll be producing professional-quality transfers that impress your customers. Happy printing!