
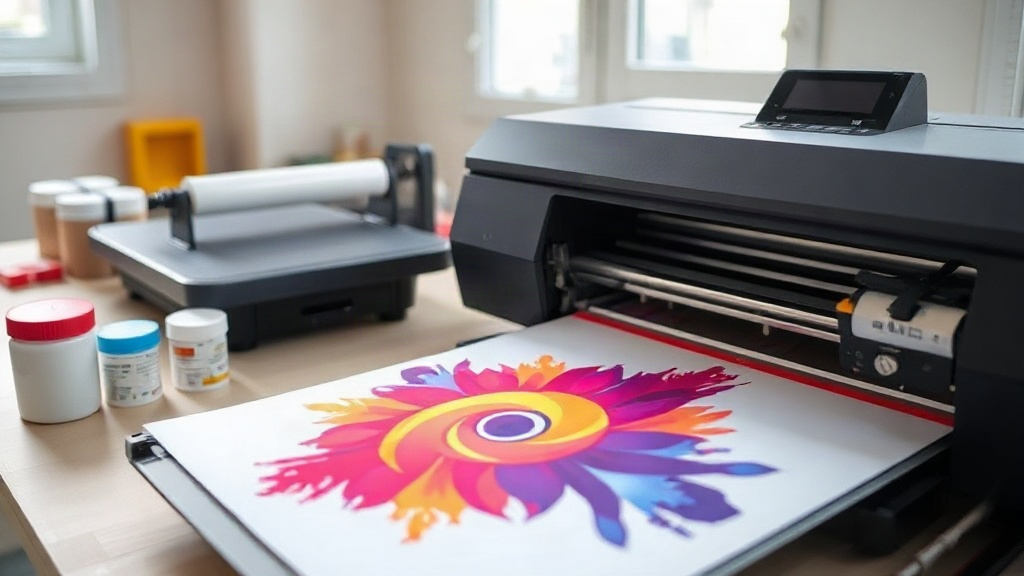
If you've been exploring custom apparel decoration, you've likely encountered DTF printing. Short for Direct-to-Film, this method has rapidly become a favorite among small business owners, hobbyists, and professional printers alike. Unlike traditional techniques that require specialized equipment or extensive setup, DTF offers a streamlined workflow that delivers vibrant, long-lasting results on a wide range of fabrics. In this guide, we'll walk you through the essentials of DTF printing, from understanding the process to troubleshooting common issues, so you can decide if it's right for your projects.
What Exactly Is DTF Printing?
DTF printing stands for Direct-to-Film. It's a digital printing method where your design is printed onto a special transfer film using a DTF printer and water-based pigment inks. After printing, a hot-melt adhesive powder is applied to the wet ink, then the film is cured. The resulting transfer can be heat-pressed onto various materials, including cotton, polyester, blends, and even nylon. The key advantage? No weeding, no masking, and no need for pre-treatment on most fabrics. This makes DTF incredibly efficient for both small batches and large orders.
Why Choose DTF Over Other Methods?
If you've tried screen printing, vinyl cutting, or DTG, you know each has its limitations. Screen printing requires separate screens per color, making short runs costly. Vinyl is labor-intensive for intricate designs. DTG often needs pre-treatment and works best on 100% cotton. DTF sidesteps many of these issues. It handles full-color graphics with gradients and fine details effortlessly, and it adheres well to diverse fabrics. Plus, the stretchability and durability of DTF transfers are impressive when applied correctly. For a small shop looking to offer custom tees without investing in multiple machines, DTF is a game-changer.
Essential Supplies for DTF Printing
Before you dive in, you'll need the right tools. Here's a rundown of what's required:
- DTF printer: A dedicated printer that uses pigment inks and can handle film. Popular models include those from Epson converted for DTF, or purpose-built machines.
- DTF film: Available in rolls or sheets, with a matte or glossy side for printing. Cold-peel and hot-peel options exist.
- DTF ink: Water-based pigment inks formulated for DTF. Using the correct ink is crucial for washability.
- Hot-melt adhesive powder: This is what allows the transfer to bond to the fabric. It comes in fine and coarse grades.
- Heat press: For both curing the powder and applying the transfer. A press with accurate temperature and pressure control is essential.
- RIP software: To manage color profiles and print settings. Many DTF printers come with proprietary software.
Gathering these supplies is your first step. Quality materials directly impact your output, so don't skimp on film or powder.
Step-by-Step DTF Printing Process
Let's break down the workflow from start to finish.
1. Design Preparation
Start with a high-resolution image. DTF printing excels with detailed artwork, so ensure your file is at least 300 DPI. Mirror the image before printing, as the transfer will be flipped when pressed. If your design has a white underbase, your RIP software will handle that automatically. For dark garments, a white layer is printed behind the colors to make them pop.
2. Printing onto Film
Load your DTF film into the printer, ensuring the correct side faces the printhead. The printer lays down the white underbase (if needed) and then the CMYK colors. Some printers also use additional colors like white or varnish for special effects. The print may look dull before powdering; that's normal.
3. Applying Adhesive Powder
While the ink is still wet, sprinkle the hot-melt powder evenly over the printed area. Gently shake off excess. You can use a powder shaker machine for consistency, but manual application works for small runs. The powder should stick only to the ink, not the bare film.
4. Curing the Powder
Place the film in a heat press or oven to melt the powder. Typical curing conditions: 320°F (160°C) for 2-3 minutes in an oven, or 350°F (175°C) for 15-20 seconds in a heat press with low pressure. The powder should turn glossy and gel-like. Overcuring can make the transfer brittle, so monitor closely.
5. Heat Pressing onto Fabric
Set your heat press to 325°F (163°C) with medium pressure. Pre-press the garment for a few seconds to remove moisture. Place the transfer on the fabric, adhesive side down, and press for 15-20 seconds. For cold-peel film, wait until it cools completely before peeling; for hot-peel, peel immediately. Follow the film manufacturer's recommendations.
Tips for Perfect DTF Transfers
Even with the right equipment, small details can make or break your results. Here are some hard-earned tips:
- Control humidity: High humidity can cause the powder to clump. Store film and powder in a dry environment.
- Test your powder: Different powders have varying melt points. Always do a test press to dial in temperature and time.
- Use a teflon sheet: When pressing, cover the transfer with a teflon sheet to protect your heat press and prevent sticking.
- Wash inside out: For longest life, instruct customers to wash garments inside out in cold water and avoid fabric softener.
- Experiment with fabrics: DTF works on many materials, but adhesion can vary. Test on new fabric types before full production.
Common DTF Problems and How to Fix Them
Like any process, DTF can throw curveballs. Here's troubleshooting for frequent issues:
Transfer Peels Off After Washing
This usually means insufficient powder or undercuring. Ensure the powder covers all ink evenly and that curing reaches the correct temperature. Also, check that the heat press provides even pressure across the transfer.
Colors Look Faded
Faded colors often result from too little white underbase or incorrect color profiles. Adjust your RIP settings to increase white ink density. Also, ensure your printer's nozzles are clean; a clogged nozzle can cause missing colors.
Film Curls or Jams
Film curling can happen if the printer's platen is too hot or if the film is stored in a humid place. Let the printer cool between jobs and store film flat in a sealed bag.
Powder Not Sticking
If powder doesn't adhere, the ink may be too dry. Work quickly after printing, or increase the ink density in your software. Also, ensure the powder is fresh and dry.
Frequently Asked Questions About DTF Printing
What fabrics can I use with DTF transfers?
DTF transfers work on a wide range of fabrics, including cotton, polyester, cotton-poly blends, nylon, and even leather. However, fabrics with heavy coatings or waterproof finishes may require special handling. Always test a small area first.
How durable are DTF prints?
When applied correctly, DTF prints are highly durable. They can withstand dozens of washes without cracking or fading. Proper curing and using quality powder are key to longevity. Following care instructions, like washing inside out in cold water, will extend the life further.
Do I need a special printer for DTF?
Yes, you need a printer capable of handling DTF film and pigment inks. Many people convert Epson printers, but purpose-built DTF printers are also available. These printers have modified printheads and ink systems to accommodate white ink, which is essential for DTF.
Can I use DTF on dark shirts?
Absolutely. DTF printing excels on dark garments because it uses a white underbase to make colors vibrant. The white layer is printed first, followed by CMYK, ensuring opacity and brightness.
Is DTF printing cost-effective for small businesses?
For short to medium runs, DTF is very cost-effective. There's no need for screens or setup fees, and you can print one-off designs without extra cost. The main expenses are the printer, ink, film, and powder, but these are offset by the versatility and low waste.
With its flexibility, vibrant output, and growing community support, DTF printing is a solid choice for anyone looking to expand their custom apparel offerings. Whether you're just starting out or adding a new service, mastering DTF can open up a world of creative possibilities. Remember to practice, troubleshoot, and connect with other printers to refine your skills. Happy printing!