
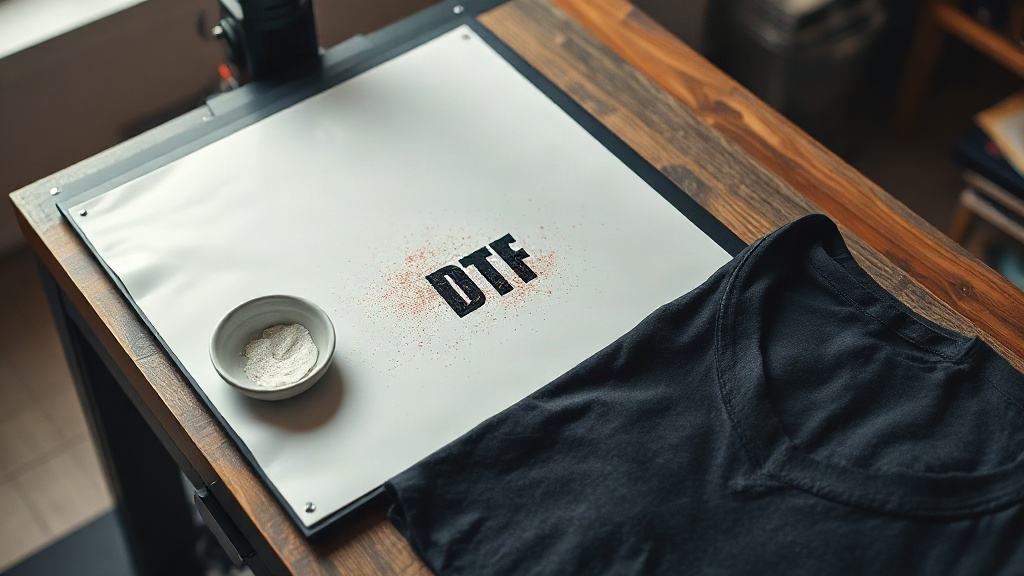
Most people who buy their first roll of DTF film expect the learning curve to be short. Print the design, dust it with powder, press it, done. Then the first shirt comes out with a cracked edge after two washes, or the powder sticks to the whole sheet instead of the ink, and the tidy tutorial they followed suddenly looks incomplete. DTF Transfers are genuinely forgiving compared to screen printing, but the variables that matter are not the ones most guides emphasize. Film thickness, powder application, moisture, and press pressure all interact, and small shops feel every one of those interactions in their margins.
This guide is written for the shop owner running one or two presses, doing runs of ten to two hundred pieces, and trying to keep rejects under control. It covers what actually moves quality and cost, plus the fixes that work when something goes wrong.
What DTF Transfers Actually Are, and Why Shops Adopt Them
A DTF transfer is a printed image on a PET film carrier, coated with a hot-melt adhesive powder, then cured and pressed onto a garment. The printer lays down white ink first, then CMYK on top, which is why the process works on dark and light fabric with the same file. There is no weeding, no cutting, no color separation, and no minimum order from a screen supplier.
That last point is why small shops gravitate toward it. A job of twelve hoodies at three locations each is awkward for vinyl and expensive for screens. With DTF, you print one gang sheet, cut the pieces apart, and press them in sequence. Setup time drops to near zero, and reprints for a damaged piece take minutes.
The tradeoff is that the process depends on chemistry you cannot see. If the powder is under-cured, the print feels fine on day one and fails on day ten. If it is over-cured, the film curls and the transfer cracks along the edges. The window between those two outcomes is narrower than most equipment vendors admit.
Film and Powder Choices That Change Your Results
Double-sided versus single-sided film
Double-sided film holds powder on both faces, which gives a slightly thicker adhesive layer and better coverage on textured fabrics like pique polos or canvas totes. Single-sided film is cheaper and peels more cleanly on smooth cotton, but it can leave a faint halo on coarse weaves because the adhesive does not reach into the valleys of the fabric.
If your work is mostly ring-spun cotton tees, single-sided film is fine and saves money. If you take a lot of polos, fleece, or canvas, keep a roll of double-sided on the shelf for those jobs.
Powder particle size
Fine powder (around 80 microns) gives sharper detail and a softer hand, but it is easier to over-apply and harder to shake off evenly. Coarser powder (around 150 microns) is more forgiving on high-coverage prints and holds up better on stretchy fabric, though the finished feel is noticeably thicker.
Most shops settle on a mid-range powder and adjust application technique rather than switching products. Consistency matters more than the specific number.
Ink and humidity
White ink settles. If a printer sits unused for a few days, the titanium dioxide drops out of suspension and the first prints come out weak and grainy. A short circulation cycle before a production run solves this. Humidity matters too: below 40 percent relative humidity, film dries too fast and powder adhesion becomes uneven. A cheap hygrometer near the printer will tell you more about your defect rate than any troubleshooting chart.
Press Settings That Hold Up in Production
Published settings vary widely because they depend on your powder, your film, and your press. The ranges below are a reasonable starting point, not a prescription.
- Temperature: 320 to 340 degrees Fahrenheit for the transfer press.
- Pressure: medium to firm, roughly 40 to 60 psi on a pneumatic press.
- Press time: 12 to 15 seconds for the transfer, plus a 5 to 8 second post-press with a cover sheet for a matte finish.
- Peel: cold peel for most films. Warm peel only if your film and powder are rated for it.
Two details get skipped constantly. First, pre-press the garment for three to five seconds to drive out moisture. Trapped moisture turns to steam under the transfer and creates blisters that look like adhesive failure but are not. Second, use a cover sheet or parchment for the post-press. It flattens the adhesive into the weave and removes the plastic sheen that makes DTF prints look like stickers.
On a manual press, consistency is the hard part. Mark your pressure lever position and check it at the start of every session. A quarter turn of drift is enough to change how the edges bond.
Fabric Compatibility: What Works and What Fails
Cotton and cotton blends are the easy case. Polyester is where things get interesting, because the adhesive bonds to the fabric surface while the fabric itself can shift color under heat. On white or light polyester, a transfer pressed at 340 degrees for 15 seconds can leave a scorch ring or a dye migration haze. Lower the temperature to around 300 to 310 degrees and extend the time slightly.
Nylon is riskier. Some nylons scorch below 300 degrees, and the adhesive may not fully bond. If a customer brings nylon jackets, test on a scrap panel before committing the run.
Waterproof and DWR-treated fabrics, common in outdoor gear, resist adhesion almost entirely. DTF is the wrong process for those garments, and no amount of pressure will fix it.
Testing Before You Ship
The single highest-return habit in a DTF shop is a wash test log. Press a sample on the same fabric you are about to run, let it sit 24 hours, then wash it inside out in warm water and tumble dry low. Repeat five times. If the edges lift after cycle three, your powder is under-cured or your pressure is low. If the print cracks across the middle, your ink deposit is too heavy for the fabric's stretch.
Keep a physical sample of each fabric and setting combination in a binder with the date and parameters written on the back. When a customer returns a shirt six weeks later, that binder tells you whether the problem is your process or their laundry routine.
Common Defects and the Fastest Fix
- Powder sticks to the whole sheet: too much powder or too little humidity. Shake more vigorously and check the room.
- Print peels at the corners after washing: under-cured adhesive. Add 5 degrees and 2 seconds.
- Cracks along the print edges: over-cured or excessive pressure. Reduce pressure first.
- Faint white haze around the image: powder overspill. Brush the film before curing, not after.
- Print looks glossy and plastic: no post-press. Add a 5 second cover-sheet press.
None of these require new equipment. They require a log, a hygrometer, and the discipline to change one variable at a time instead of three.
Frequently Asked Questions About DTF Transfers
How long do DTF transfers last on a shirt?
With correct curing and a proper post-press, a DTF print on cotton typically survives 50 or more home wash cycles before noticeable fading. On polyester, expect somewhat shorter life because heat exposure during pressing already stresses the fabric. Washing inside out in cold water and avoiding high dryer heat extends the life considerably.
Can you layer DTF transfers on top of each other?
Yes, but keep it to two layers and press the second one at a slightly lower temperature to avoid re-melting the first. Stacking three or more layers builds a thick, stiff patch that cracks quickly. For multi-color designs, print everything on one sheet instead of layering.
Do DTF transfers work on 100 percent polyester?
They work, but the press settings need to come down. Polyester dyes can migrate into the adhesive at high temperatures, and the fabric itself can scorch. Start around 300 degrees for 15 seconds and test on scrap before running a full order. Dark polyester is more forgiving than white or light colors.
Why does my DTF print feel rough after pressing?
Roughness usually comes from excess powder or a missing post-press. The adhesive layer should melt into the fabric weave, not sit on top of it. Brush off loose powder before curing, and always finish with a 5 to 8 second press under a cover sheet. That single step changes the hand feel more than any product swap.