
You've spent hours perfecting your heat press settings, calibrated your dtf transfers film, and still, prints fail. The adhesive won't stick, the design cracks after a wash, or the colors look washed out. Before you blame the film or the powder, consider this: the fabric itself might be sabotaging your results. Moisture trapped in the garment is one of the most overlooked culprits in dtf printing, and it can turn a flawless workflow into a frustrating cycle of defects.
In this guide, we'll explore how moisture affects dtf transfers, how to spot the signs, and what you can do to eliminate it from your process. Whether you're a seasoned shop owner or just starting out, understanding this hidden variable will save you time, money, and a lot of wasted blanks.
Why Moisture Matters in DTF Printing
DTF transfers rely on a thermoplastic adhesive that melts under heat and bonds to the fabric fibers. When moisture is present, that bond is compromised. Here's what happens: as the press heats up, any water in the fabric turns to steam. That steam expands and tries to escape, creating tiny pockets of gas between the transfer and the fabric. The result? Poor adhesion, bubbles, and a finish that looks uneven or cloudy.
Even worse, moisture can prevent the adhesive from fully melting. Instead of flowing into the fibers, it sits on top, creating a weak bond that fails after a few washes. And if you're using a dtf transfers near me service, you might not have control over how the blanks were stored before they reached you, so it's crucial to inspect and prep every garment.
Signs That Moisture Is Ruining Your Prints
Not all moisture problems are obvious. Sometimes the fabric feels dry to the touch but still holds enough humidity to cause issues. Here are the telltale signs:
- Bubbling or blistering right after pressing. The transfer looks like it has tiny blisters or a textured surface.
- Cloudy or hazy appearance under the transfer, especially on dark garments. This is trapped steam.
- Peeling edges immediately after pressing or after the first wash. The adhesive didn't penetrate.
- Cracking along the design that appears sooner than expected. Moisture weakens the elastic bond.
- Inconsistent adhesion across the same garment. Some areas stick well, others don't.
If you notice any of these, moisture is a prime suspect. But don't jump to conclusions; other factors like pressure or temperature can cause similar symptoms. The key is to isolate the variable.
How to Detect Moisture in Fabric
You don't need a lab to check for moisture. A few simple tests can reveal whether your fabric is too damp:
The Touch Test
Press your hand against the fabric. If it feels cool or clammy, there's moisture. Compare it to a known dry garment; the difference should be noticeable.
The Wrinkle Test
Scrunch the fabric in your hand and release. If it stays wrinkled and feels stiff, it might be damp. Dry fabric typically springs back.
The Plastic Bag Test
Place the garment in a clear plastic bag and seal it. Leave it in a warm room for an hour. If condensation forms inside the bag, moisture is present.
The IR Thermometer Trick
Use an infrared thermometer to measure the surface temperature of the fabric. If it's significantly cooler than the ambient air, evaporation is likely occurring, indicating moisture.
Common Sources of Moisture
Where does the moisture come from? It's not always obvious. Here are the usual suspects:
- Storage conditions: Garments stored in humid basements, garages, or near open windows absorb moisture from the air.
- Shipping and handling: Blanks shipped in non-climate-controlled trucks can arrive damp, especially in rainy seasons.
- Pre-treatment products: Some pre-treatments or spot cleaners leave behind residue that attracts moisture.
- Laundering: If you wash garments before printing (which is rare but possible), they must be completely dry.
- Environment: High humidity in your shop (above 60% relative humidity) can cause fabric to absorb moisture even during storage.
How to Eliminate Moisture Before Pressing
Prevention is straightforward once you know what to look for. Follow these steps to ensure your fabric is press-ready:
1. Store Blanks Properly
Keep garments in a dry, climate-controlled area. Use sealed bins or bags if humidity is a concern. Avoid storing them directly on concrete floors, which can wick moisture.
2. Pre-Press Every Garment
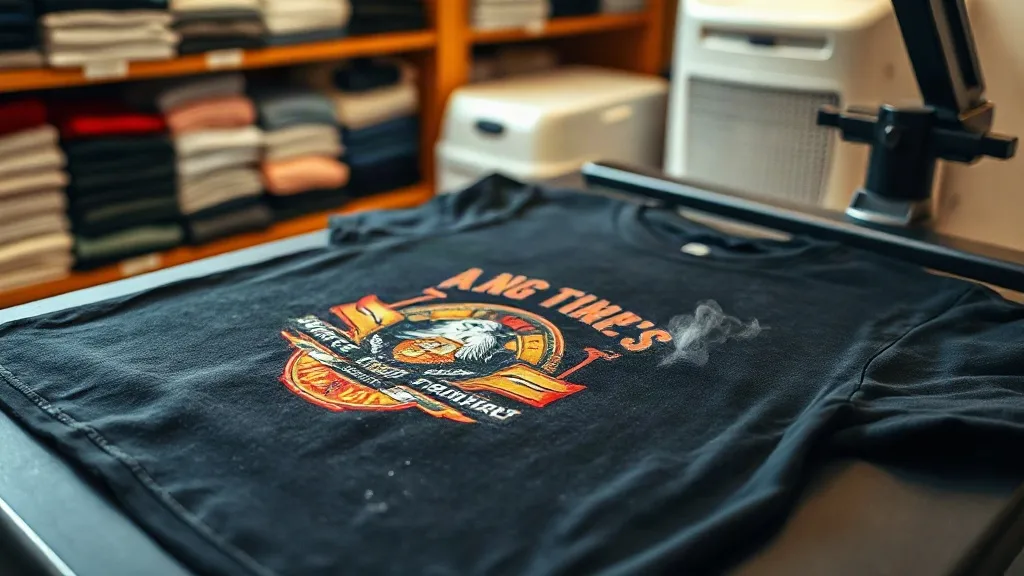
Even if the fabric feels dry, a quick pre-press (5-10 seconds at 330°F/165°C) will drive out residual moisture. You'll often see steam escaping; that's a clear sign it was needed.
3. Use a Moisture-Wicking Mat
Place a moisture-wicking mat under the garment during pressing. These mats absorb steam and prevent it from being trapped between the fabric and the platen.
4. Control Shop Humidity
Invest in a dehumidifier if your shop regularly exceeds 50-60% relative humidity. Monitor with a hygrometer; it's a cheap tool that pays for itself.
5. Inspect Incoming Shipments
Check new blanks as soon as they arrive. If they feel damp, let them acclimate in a dry area before printing. Don't assume they're ready to use.
What to Do If You Suspect Moisture After Printing
If you've already pressed a garment and notice signs of moisture, don't panic. You can often salvage the print by re-pressing. Wait for the garment to cool completely, then re-press with a Teflon sheet or parchment paper for the full recommended time. The heat will drive out remaining moisture and re-melt the adhesive. However, if the print has already cracked or peeled, it's usually a lost cause; prevention is always better.
Moisture and Different Fabric Types
Not all fabrics behave the same. Cotton is highly absorbent and can hold up to 8% of its weight in water without feeling damp. Polyester is less absorbent but can still trap moisture on the surface. Blends fall somewhere in between. For 100% cotton, pre-pressing is especially critical. For polyester, watch for condensation during pressing; it can cause the transfer to slide. Always test a small area if you're unsure.
SSS
How can I tell if my DTF transfer failed because of moisture?
Look for bubbling, a cloudy appearance under the transfer, or peeling edges immediately after pressing. If the same settings work on other garments, moisture is likely the culprit.
Can I dry fabric in a dryer before DTF printing?
Yes, but use low heat and ensure the garment is completely cool before pressing. High heat can shrink or damage some fabrics.
Does moisture affect DTF transfers on dark garments more than light ones?
Moisture issues are more visible on dark garments because trapped steam creates a hazy, cloudy look. However, adhesion problems occur on all colors.
What's the ideal humidity level for a DTF shop?
Keep relative humidity between 40% and 60%. Below 40% can cause static, while above 60% promotes moisture absorption.
Can I use a hair dryer to remove moisture from fabric?
It's not ideal because it can blow dust onto the fabric. A heat press pre-press is more effective and consistent.