
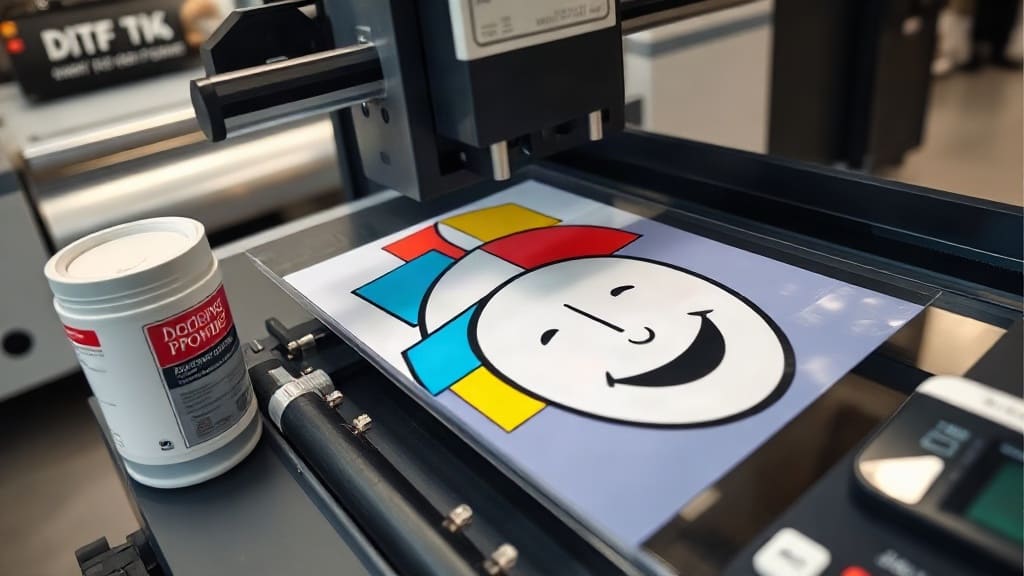
DTF printing, or Direct-to-Film, has taken the custom apparel world by storm. If you've been curious about this method, you're in the right place. This guide will walk you through what it is, how it works, and how to get the best results. Whether you're a hobbyist with a home printer or a business owner looking to expand, understanding DTF can open up a world of creative possibilities. Let's dive in and explore why this technique is becoming a favorite among printers and designers alike.
What Is DTF Printing?
DTF stands for Direct to Film. It's a printing method where a design is printed onto a special PET film using a printer equipped with white ink. After printing, adhesive powder is applied to the wet ink, and the film is heated to cure the powder. The result is a transfer that can be pressed onto fabric using a heat press. Unlike traditional screen printing or heat transfer vinyl, DTF offers incredible detail, vibrant colors, and the ability to print on a wide range of fabrics without weeding.
How Does DTF Work?
The process might sound complex, but it's actually quite straightforward once you break it down. Here's a step-by-step look at how DTF printing works:
- Design Creation: You create or choose a design using graphic software. The design is then printed with a DTF printer, which is often an inkjet printer modified to handle pigment inks, including white.
- Printing: The design is printed in reverse (mirrored) onto a clear PET film. The printer lays down the CMYK colors first, then a layer of white ink as a base. This white layer is crucial for making colors pop on dark shirts.
- Applying Adhesive Powder: While the ink is still wet, a hot-melt adhesive powder is sprinkled over the printed area. This powder sticks to the wet ink.
- Drying and Curing: The film is then passed through a dryer or heat tunnel to melt the adhesive powder and fuse it to the ink. This creates a flexible, sticky transfer.
- Heat Pressing: The transfer is placed onto a garment, and a heat press applies pressure and heat (typically around 320°F or 160°C) for about 15-20 seconds. The adhesive melts and bonds with the fabric.
- Peeling: After pressing, you peel the film away, leaving the design permanently embedded in the fabric.
Why Choose DTF Over Other Methods?
There are several reasons why DTF is gaining traction. It offers a unique combination of benefits that appeal to both beginners and seasoned professionals.
Versatility
One of the biggest advantages of DTF is that it works on a wide range of fabrics, including cotton, polyester, blends, nylon, and even leather. This flexibility is a game-changer if you want to offer various products without investing in multiple printing technologies.
Detail and Color
DTF transfers can reproduce intricate details and gradients with exceptional clarity. The white ink base ensures that colors stay vivid even on dark fabrics, which is a common challenge with other methods.
No Weeding
Unlike vinyl, DTF doesn't require time-consuming weeding of excess material. You print, powder, and press. This saves hours, especially for complex designs.
Soft Hand Feel
The final print has a soft, flexible texture that doesn't crack easily. This durability makes it ideal for everyday wear and repeated washing.
Essential Materials for DTF Printing
To get started with DTF, you'll need specific materials. Here's a list of the essentials:
- DTF Printer: You can convert a standard inkjet printer, but it's easier to use a dedicated DTF printer that supports white ink circulation.
- PET Film: This is the transfer film, available in rolls or sheets. Make sure to choose high-quality film that can withstand heat without warping.
- Adhesive Powder: A hot-melt adhesive that comes in various mesh sizes. Finer powder is suitable for detailed designs, while coarser powder provides a stronger bond.
- DTF Inks: Pigment-based inks, including CMYK and white. The white ink is the most critical component and requires proper maintenance.
- Heat Press: A clamshell or swing-away press is necessary for applying the transfer.
- Dryer or Heat Tunnel: To cure the adhesive powder after application, you'll need a heat source. Some small-scale printers use a simple toaster oven or heat gun, but for consistency, a dedicated dryer is recommended.
Tips for Achieving Vibrant, Long-Lasting Transfers
Getting the best results from DTF requires attention to detail. Here are some practical tips that I've learned through trial and error:
Calibrate Your Printer
Proper color management is crucial. Use ICC profiles specific to your printer and film combination to ensure accurate color reproduction. Regularly clean and test your nozzles to avoid banding or missing lines.
Control the Powder Application
The amount of adhesive powder you apply affects the transfer's durability and feel. Too little powder and the transfer may not stick well; too much can make it stiff and bulky. Shake off excess powder thoroughly before curing.
Optimal Pressing Conditions
Always follow the manufacturer's guidelines for temperature, time, and pressure. As a rule, pre-press the garment for a few seconds to remove moisture and wrinkles. Then press the transfer with medium to firm pressure for the recommended time. Let it cool slightly before peeling, and peel slowly to avoid lifting the design.
Handle White Ink with Care
White ink is notorious for settling and clogging. Shake the cartridges or bottles regularly, and ensure the printer agitates the ink if it has that feature. Run a cleaning cycle before each print session to prevent dried ink from causing issues.
Common Mistakes to Avoid in DTF Printing
Even experienced printers can run into pitfalls. Here are common mistakes and how to sidestep them:
- Skipping Pre-Press: Not pre-pressing your garment can lead to poor adhesion because of moisture or creases.
- Using Low-Quality Film: Cheap film may not release properly or can melt during pressing, ruining your design.
- Overcuring the Powder: If you leave the film in the dryer too long, the powder can become too brittle, leading to cracking.
- Ignoring White Ink Density: If the white base is too thin, colors won't pop; if too thick, the print may feel heavy. Adjust print settings to achieve the right density.
- Not Testing on Similar Fabric: Different fabrics absorb adhesive differently. Always test on a sample of the actual fabric you'll be using.
DTF vs. DTG vs. Screen Printing
To truly understand the value of DTF, it helps to compare it with other popular methods like Direct to Garment (DTG) and screen printing.
DTF vs. DTG
DTG prints directly onto the garment, which limits it to 100% cotton or high-cotton blends for best results. DTF, on the other hand, works on any fabric. DTG is great for small runs with high detail, but DTF offers more flexibility and often lower per-unit costs for medium runs. Additionally, DTF transfers can be prepared in advance and pressed on demand, making it faster for fulfilling orders.
DTF vs. Screen Printing
Screen printing is the old champion for bulk orders because of its low cost per unit at volume. However, it requires significant setup time and is not practical for small quantities or full-color designs with gradients. DTF shines with no setup, easy color changes, and the ability to print photo-like images. For runs under 100 pieces, DTF is often more cost-effective.
Cost Considerations and ROI
Initial investment in DTF equipment can range from a few thousand dollars for a starter setup to over $20,000 for industrial machines. But the ongoing costs are manageable: film, powder, and ink are the main consumables. When you factor in labor savings (no weeding, quick press times), the return on investment becomes clear. Many small businesses find that DTF pays for itself within a few months, especially if they offer a variety of products.
Creative Possibilities with DTF
One of the most exciting aspects of DTF is its creative potential. You can print on tote bags, caps, socks, and even mouse pads. The transfers are flexible enough to stretch with the fabric, making them ideal for activewear. You can also create custom patches or labels. The only limit is your imagination.
Frequently Asked Questions
Can DTF transfers be used on any fabric?
DTF transfers work best on cotton and cotton blends, but they also adhere well to polyester, nylon, and even leather. However, for very stretchy fabrics like spandex, you might need a special powder with elastic properties to prevent cracking. Always test on a sample before committing to a bulk run.
How many washes can a DTF print withstand?
A properly pressed DTF transfer can last for 50 or more washes without significant fading or cracking. The key is to use high-quality materials and follow the correct curing and pressing temperatures. Washing inside out in cold water and air drying or tumble drying on low can extend the life of the print.
Do I need a special printer for DTF?
While you can convert some standard inkjet printers, it's highly recommended to use a printer specifically designed for DTF. These printers have a recirculating system for white ink, which prevents clogging. They also handle the thicker pigment inks better. Investing in a reliable DTF printer will save you headaches in the long run.
Is DTF printing eco-friendly?
DTF uses water-based inks that are more eco-friendly than plastisol used in screen printing. However, the PET film is a plastic that needs proper disposal. Some manufacturers offer biodegradable films, and you can reduce waste by printing efficiently. Overall, DTF has a smaller environmental footprint than many traditional methods, especially when you consider the lower energy consumption for small runs.
Can I use DTF for small orders?
Absolutely. One of the main benefits of DTF is its low minimum order requirement. You can print a single custom shirt without the setup costs associated with screen printing. This makes it perfect for personalized gifts, small business merch, and on-demand production.