
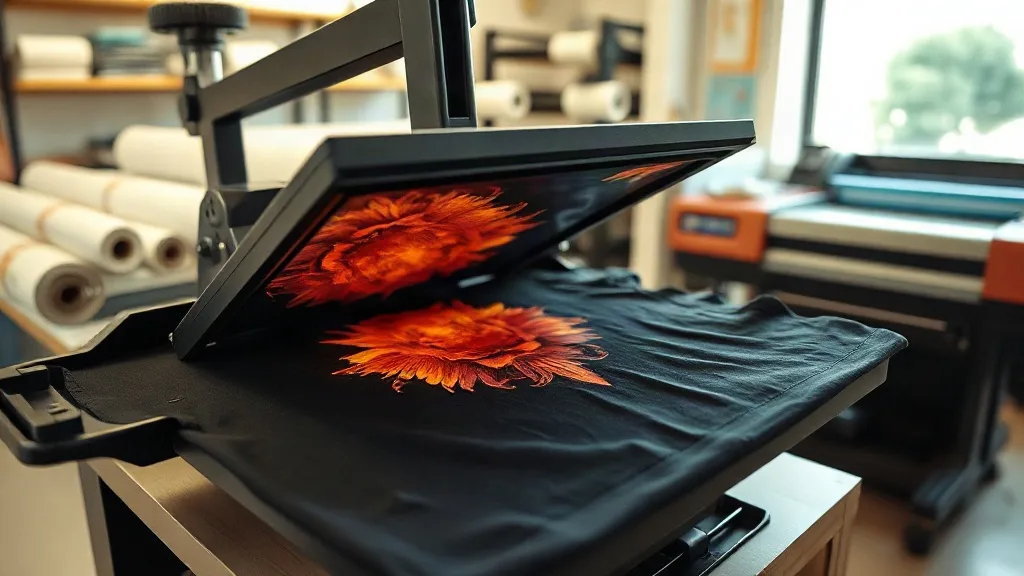
If you've been exploring custom apparel, you've likely encountered dtf printing. This innovative technology is changing how creators and businesses approach fabric decoration. Unlike traditional methods, DTF transfers offer incredible versatility and vibrant results. In this guide, I'll walk you through everything you need to know to get started with DTF transfers, sharing insights from my own experience in the print shop.
What Are DTF Transfers?
DTF stands for Direct to Film. It's a printing process where your design is printed onto a special film, coated with a powder adhesive, and then heat-pressed onto the fabric. The magic lies in the adhesive: it bonds the ink to the material, creating a durable, stretchable print. Unlike DTG (Direct to Garment), DTF doesn't require pretreating the shirt, and it works on almost any fabric, including cotton, polyester, blends, and even leather. That flexibility is why DTF transfers have become a go-to for small businesses and hobbyists alike.
How DTF Transfers Work: Step by Step
Understanding the process helps you troubleshoot and achieve professional results. Here's what happens from start to finish.
1. Design Preparation
Your design needs to be in a digital format, preferably a PNG with a transparent background. The printer uses CMYK plus white ink, so colors should be in RGB mode for accurate reproduction. I always recommend designing at 300 DPI to ensure crisp details. If your design has fine lines or small text, make sure they're at least 1-2 points thick; otherwise, they might not hold up during transfer.
2. Printing
The printer lays down the colored inks first, followed by a white ink layer. This white layer is crucial because it allows the colors to pop on dark fabrics. The film is then dusted with a hot-melt adhesive powder. Excess powder is shaken off, and the film goes through a curing oven to melt the powder into a smooth, even coating. This step is where quality really matters: a properly cured film will feel flexible and not gritty.
3. Heat Pressing
Once you have your transfer, it's time to press. You'll need a heat press (not an iron, as consistent pressure and temperature are key). Set your press to around 300-320°F (150-160°C) with medium pressure. Pre-press the garment for a few seconds to remove moisture, then place the transfer on top. Press for 10-15 seconds, peel the film while it's hot (or cold, depending on the film type), and you're done. I always do a quick second press with a Teflon sheet for added durability.
Why Choose DTF Transfers Over Other Methods?
Each printing method has its place, but DTF shines in several areas.
- Fabric versatility: Works on cotton, polyester, nylon, leather, and more.
- No minimums: Print one or one hundred; it's cost-effective for small batches.
- Vibrant colors: The white ink base makes colors stand out on any background.
- Durability: Prints withstand repeated washing without cracking or fading if applied correctly.
- Stretchability: The adhesive stretches with the fabric, making it ideal for activewear.
In my shop, we switched from screen printing to DTF for complex, multi-color designs because it eliminated setup costs and reduced waste.
Common Challenges and How to Avoid Them
Even with a great process, issues can arise. Here are solutions to frequent problems.
Adhesive Not Sticking
If the transfer peels off after washing, it's usually due to insufficient pressure or temperature. Check your heat press settings and ensure you're using the correct time and pressure. Also, make sure the garment is free of fabric softener, which can prevent adhesion.
Colors Look Dull
Dull colors often mean the white ink layer is too thin. Increase the white ink density in your printer settings or use a higher-quality film. Also, ensure you're pressing on a hard, flat surface; pressing on a soft mat can cause uneven transfer.
Film Cracking
Cracking can happen if the transfer is stretched too much during peeling. Try peeling the film cold (if your film allows) or use a stretchier film type. Additionally, avoid over-stretching the garment when wearing.
DTF Transfers vs. Other Printing Methods
Let's compare DTF to DTG and screen printing to help you decide.
- DTG: Best for 100% cotton, but requires pretreatment and can be less durable on synthetics.
- Screen printing: Cost-effective for large orders but expensive for small runs and limited to simpler designs.
- DTF: No pretreat, works on many fabrics, great for detailed designs, and no color limitations.
For a small business like mine, DTF transfers offered the best balance of quality, cost, and flexibility.
Tips for Long-Lasting DTF Prints
To ensure your prints survive wash after wash, follow these guidelines:
- Wash inside out in cold water.
- Avoid fabric softener and bleach.
- Tumble dry low or hang dry.
- Iron inside out, never directly on the print.
- Wait 24 hours after pressing before washing.
I've had customers report prints lasting over 50 washes with proper care.
Frequently Asked Questions
Can I use DTF transfers on dark fabrics?
Absolutely. The white ink layer in DTF transfers acts as a base, allowing colors to show vividly on dark backgrounds. Just ensure your design has enough white ink coverage.
Do I need a special printer for DTF?
Yes, you need a DTF printer that uses DTF inks and can handle film. However, you can also order pre-printed transfers from suppliers if you don't want to invest in a printer.
How long do DTF transfers last?
With proper application and care, DTF transfers can last as long as the garment. Expect at least 50 washes without significant fading or cracking.
Can I stretch DTF prints?
Yes, DTF prints are stretchable, but not infinitely. Avoid excessive stretching, especially when peeling the film. For high-stretch fabrics, use a stretchable DTF film.
What's the best temperature for pressing DTF transfers?
Most DTF transfers press at 300-320°F (150-160°C) for 10-15 seconds. Always check your film's specific instructions, as formulations vary.
DTF transfers have opened up a world of possibilities for custom apparel. Whether you're a hobbyist or a business owner, mastering this technique can elevate your creations. Remember, practice makes perfect, so don't be afraid to experiment. With the right tools and knowledge, you'll be producing stunning, durable prints in no time.