
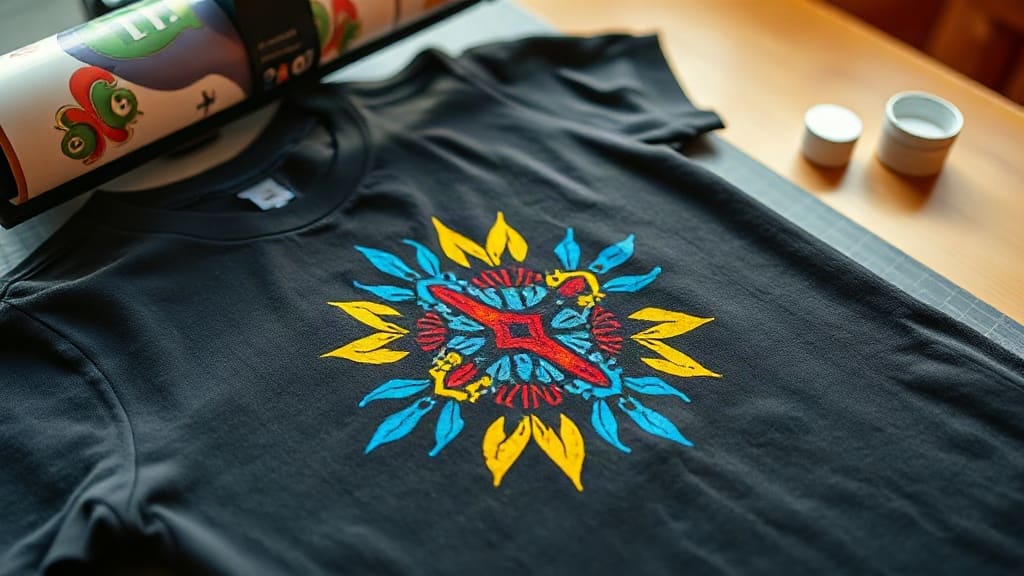
If you've been exploring custom apparel printing, you've likely heard about DTF transfers. This technology has taken the industry by storm, offering a flexible and cost-effective way to print vibrant designs on various fabrics. Unlike traditional methods that require screens or complex setups, DTF (Direct to Film) printing allows you to create detailed, full-color transfers with a simple process. In this guide, I'll walk you through everything you need to know about DTF transfers, from how they work to practical tips for getting the best results. Whether you're a small business owner or a hobbyist, this comprehensive resource will help you master the art of DTF printing.
What Are DTF Transfers?
DTF transfers are a printing method where a design is printed onto a special PET film using a DTF printer, then coated with adhesive powder. The film is then heat-pressed onto a garment, transferring the design. This process allows for high-detail, full-color prints that are soft to the touch and durable. Unlike screen printing, which is limited by colors and setup costs, DTF printing offers unlimited colors and gradients without extra setup. It's perfect for small batches and on-demand printing, making it a favorite among custom apparel businesses.
How DTF Printing Works
The DTF process involves several steps, each crucial for achieving a high-quality transfer. Let's break it down:
- Design Creation: First, you create your design using graphic software. Ensure it's in high resolution with a transparent background, as the printer will lay down white ink first.
- Printing: The DTF printer prints the design onto a special film using CMYK plus white ink. The white ink is essential for printing on dark fabrics, as it provides an opaque base.
- Powder Application: While the ink is still wet, you apply a hot-melt adhesive powder onto the printed film. This powder sticks to the wet ink and later melts during heat pressing to bond the design to the fabric.
- Curing: The film is then passed through a heat tunnel or oven to cure the powder and ink, ensuring they set properly. This step is crucial for durability.
- Heat Press: Finally, you place the film on your garment and apply heat and pressure with a heat press. After peeling the film, your design is transferred.
Essential Materials and Equipment
To get started with DTF transfers, you'll need specific materials and equipment. Here's a list of what you'll require:
- DTF Printer: A specialized printer that can handle DTF inks and films. Many use EPSON-based printers converted for DTF.
- DTF Inks: These are pigment-based inks, including CMYK and white. The white ink is the most critical component.
- DTF Film: A PET film designed to release the print after heat pressing. There are types for light and dark fabrics.
- Adhesive Powder: A thermoplastic polyurethane powder that melts and bonds the ink to fabric.
- Heat Press: A standard heat press with adjustable temperature and pressure works fine.
- Oven or Heat Tunnel: For curing the powder before pressing. Some small-scale users use a separate heat press to cure.
Step-by-Step Guide to Making DTF Transfers at Home
If you're ready to try DTF printing at home, here's a practical step-by-step guide:
- Prepare your design in software like Photoshop or Illustrator. Ensure it's at least 300 DPI and has a transparent background.
- Load the film into your DTF printer, ensuring the printable side is facing up.
- Print your design with the correct settings. Most DTF printers have presets for film type and ink density.
- Immediately after printing, apply the adhesive powder over the wet ink. Use a shaker or applicator to cover the design entirely.
- Shake off excess powder and place the film in a curing oven or use a heat press at a low temperature (around 160°C) for 2-3 minutes to melt the powder.
- Pre-press your garment for 2-3 seconds to remove moisture and wrinkles.
- Place the film on the garment, powder side down, and press at 160-170°C for 15-20 seconds with medium pressure.
- Peel the film while it's still warm for a glossy finish, or wait until it cools for a matte finish.
Tips for Perfect DTF Transfers
Achieving flawless DTF transfers requires attention to detail. Here are some tips I've learned from experience:
- Always test with a small print first to calibrate your printer settings and press time.
- Use high-quality film and powder from reputable suppliers to avoid cracking or peeling.
- Ensure your white ink is properly mixed to prevent clogging. Shake the cartridges regularly.
- Adjust press pressure based on fabric type: lighter pressure for delicate fabrics like polyester, heavier for cotton.
- Allow prints to cool completely before washing to ensure the adhesive sets fully.
Common Mistakes and How to Avoid Them
Even experienced printers make mistakes. Here are common pitfalls with DTF transfers and how to avoid them:
- Poor Adhesion: This often happens if you don't cure the powder properly or use insufficient pressure. Ensure your powder is fully melted before pressing.
- Color Fading: This can result from low-quality inks or incorrect heat settings. Use high-quality inks and follow recommended temperatures.
- Peeling Issues: If the design peels off, it's likely due to not enough pressure or curing time. Increase pressure slightly and ensure the fabric is pre-pressed.
- Ghosting: This occurs when the film shifts during pressing. Secure the film with heat-resistant tape.
Caring for DTF-Printed Garments
To extend the life of your DTF prints, proper care is essential. Here are some guidelines:
- Wash garments inside out in cold water.
- Avoid using bleach or fabric softeners, which can degrade the adhesive.
- Tumble dry on low heat or hang to dry. High heat can cause cracking.
- Do not iron directly on the print. If needed, iron on the reverse side.
DTF vs. Other Printing Methods
Understanding how DTF transfers compare to other methods helps you decide when to use it. Here's a quick comparison:
- Screen Printing: Better for large orders with few colors. DTF is more cost-effective for small batches and multi-color designs.
- DTG (Direct to Garment): DTG prints directly on the fabric, but it's slower and more expensive per print for small quantities. DTF allows you to print in advance and press on demand.
- Sublimation: Sublimation works only on polyester and light fabrics, while DTF works on cotton, blends, and dark colors.
Frequently Asked Questions
Can I use DTF transfers on any fabric?
Yes, DTF transfers work on a wide range of fabrics, including cotton, polyester, blends, and even leather. However, the results can vary depending on the fabric's texture. For best results, use smooth fabrics. For porous materials like canvas, you may need to adjust pressure and time.
How long do DTF transfers last?
With proper care, DTF prints can last for many washes. The durability depends on the quality of materials and the pressing conditions. High-quality adhesive powder and correct curing will ensure the design stays vibrant and doesn't crack or peel. I've seen prints last over 50 washes without significant fading.
Do I need a special printer for DTF?
Yes, you need a DTF printer that can handle white pigment ink. Many users convert standard inkjet printers, like Epson models, with DTF conversion kits. It's also possible to purchase dedicated DTF printers. The printer must have a bulk ink system to manage the white ink, which settles and requires circulation.
Why is my DTF print cracking after washing?
Cracking usually occurs due to insufficient adhesive powder or incorrect curing. Ensure you apply a generous, even layer of powder and that it's fully melted during curing. Also, using a stretchy fabric and not stretching the print during application can help. Finally, avoid washing in hot water and using high heat drying.
Can I make DTF transfers without a heat press?
Technically, you can use a home iron, but it's not recommended. A heat press provides consistent pressure and temperature, which are crucial for proper adhesion. If you're just testing, you might get away with an iron, but for professional results, invest in a heat press.
Final Thoughts
Mastering DTF transfers opens up a world of possibilities for custom apparel. It's a versatile, efficient method that delivers professional results. By understanding the process, investing in the right equipment, and following best practices, you can produce stunning prints that your customers will love. Remember to experiment and refine your technique. The more you practice, the better your transfers will become. Happy printing!